Connecting the Frontend to the Backend
In this section, we will walk through how to connect the SOKit UI frontend to the real backend. This is a crucial step to enable full functionality—such as creating, updating, and searching records against a real database.
Prerequisites
Before proceeding, make sure that:
- You have completed the setup described in the Backend section.
- Your Docker-based development environment (created by the Initializer) is up and running—this includes the database the backend will use.
To run the application in development mode with the backend, you must log in using Keycloak.
- For managing users and roles, refer to the Keycloak Guide.
- For help running the Docker environment, see the Initializer Setup.
1 Configure Environment Variables
Open the .env.development file and paste the following values:
VITE_OIDC_CLIENT_ID=dev
VITE_OIDC_ISSUER=http://dev.strategyobject.com:6060/realms/dev
VITE_OIDC_BASE_URL=http://localhost:3004

VITE_COMPANY_API_BASE=http://127.0.0.1:8080/companyregistrationsystem
VITE_COMPANY_API_URI=api/v1/registration/company
These variables define how your frontend connects to the backend services. The values for VITE_COMPANY_API_BASE and
VITE_COMPANY_API_URI will be used by app-config.jsx to build API requests for the Company Registration System.
2 Start the Applications
To launch the backend, go to the root of your backend project and run:
./gradlew quarkusDev
Then, in your frontend project, run:
pnpm dev
The application UI will look and behave similarly to when you used the mock server—but now it's fully connected to the live backend.
You can now perform the same workflows (submit, review, approve, reject), but this time everything is stored in a real database and handled by actual business logic.
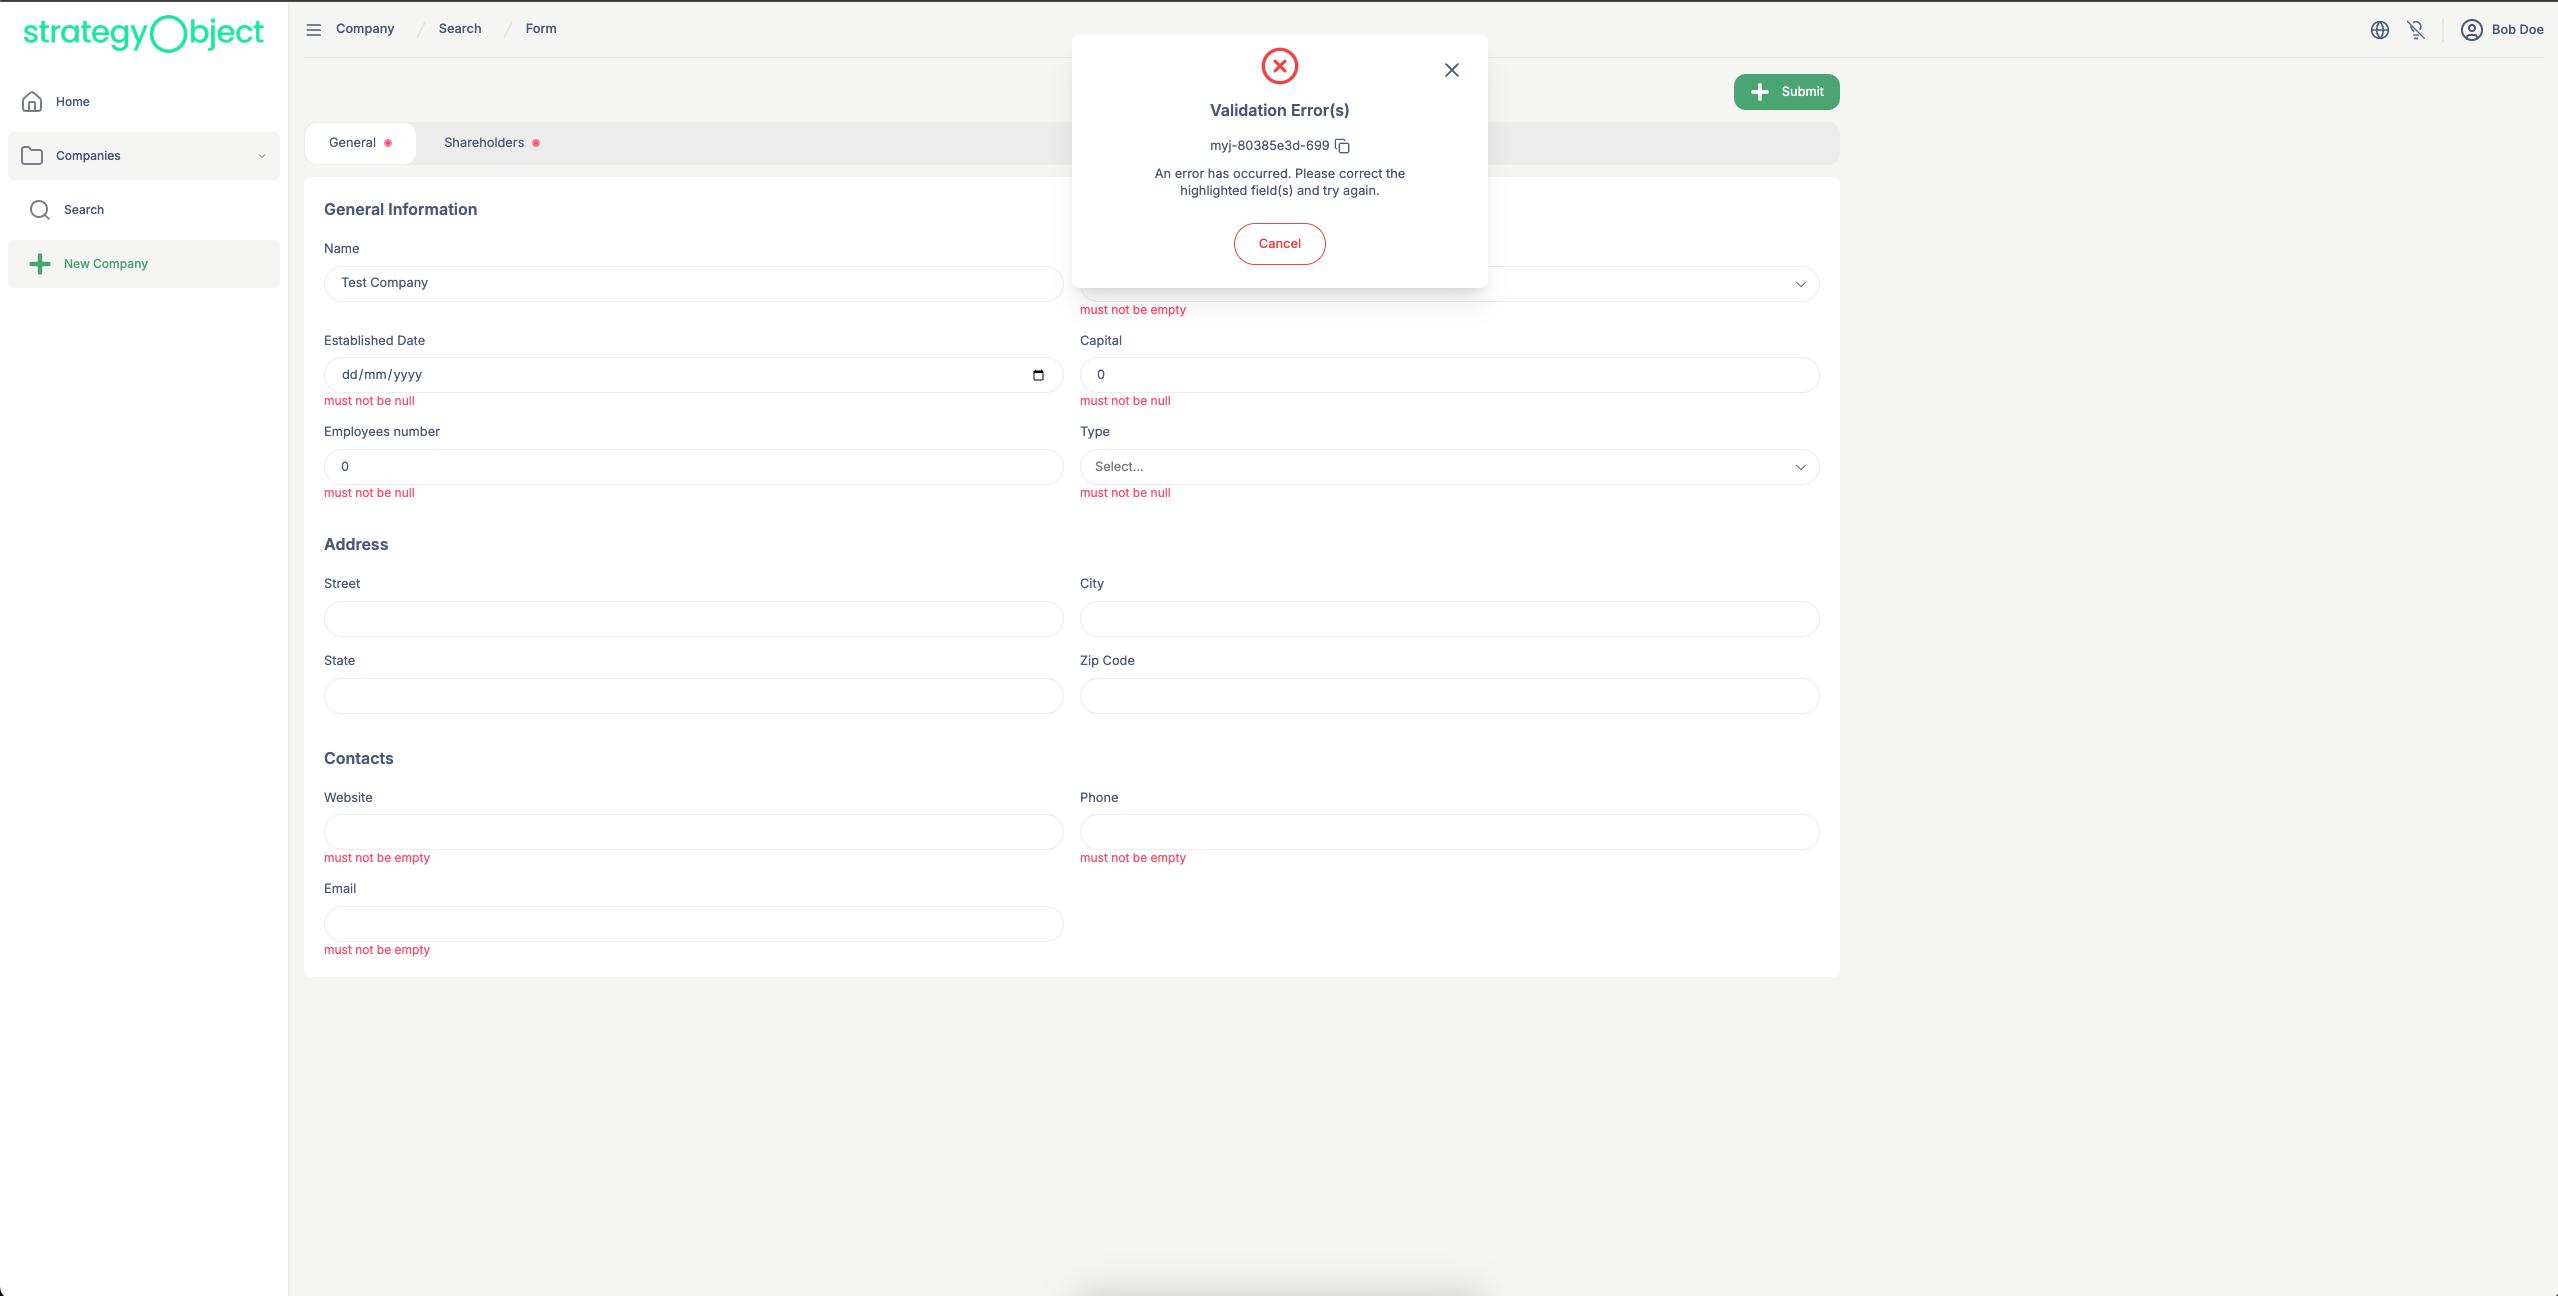
Backend-Powered Validation
One of the key advantages of integrating the real backend is leveraging server-side validation.
When a form is submitted, the backend validates the input and returns structured error messages or warnings. SOKit UI is designed to handle these responses and reflect them in the UI.
How Validation Feedback Works
In the Final Form Component, we defined an errorIds array for each tab. This enables:
- Tabs to be visually marked (e.g., red dot indicators) if they contain invalid fields
- Better navigation and feedback for the user
- A smooth UX for fixing errors
Here's an example of a validation error being rendered:
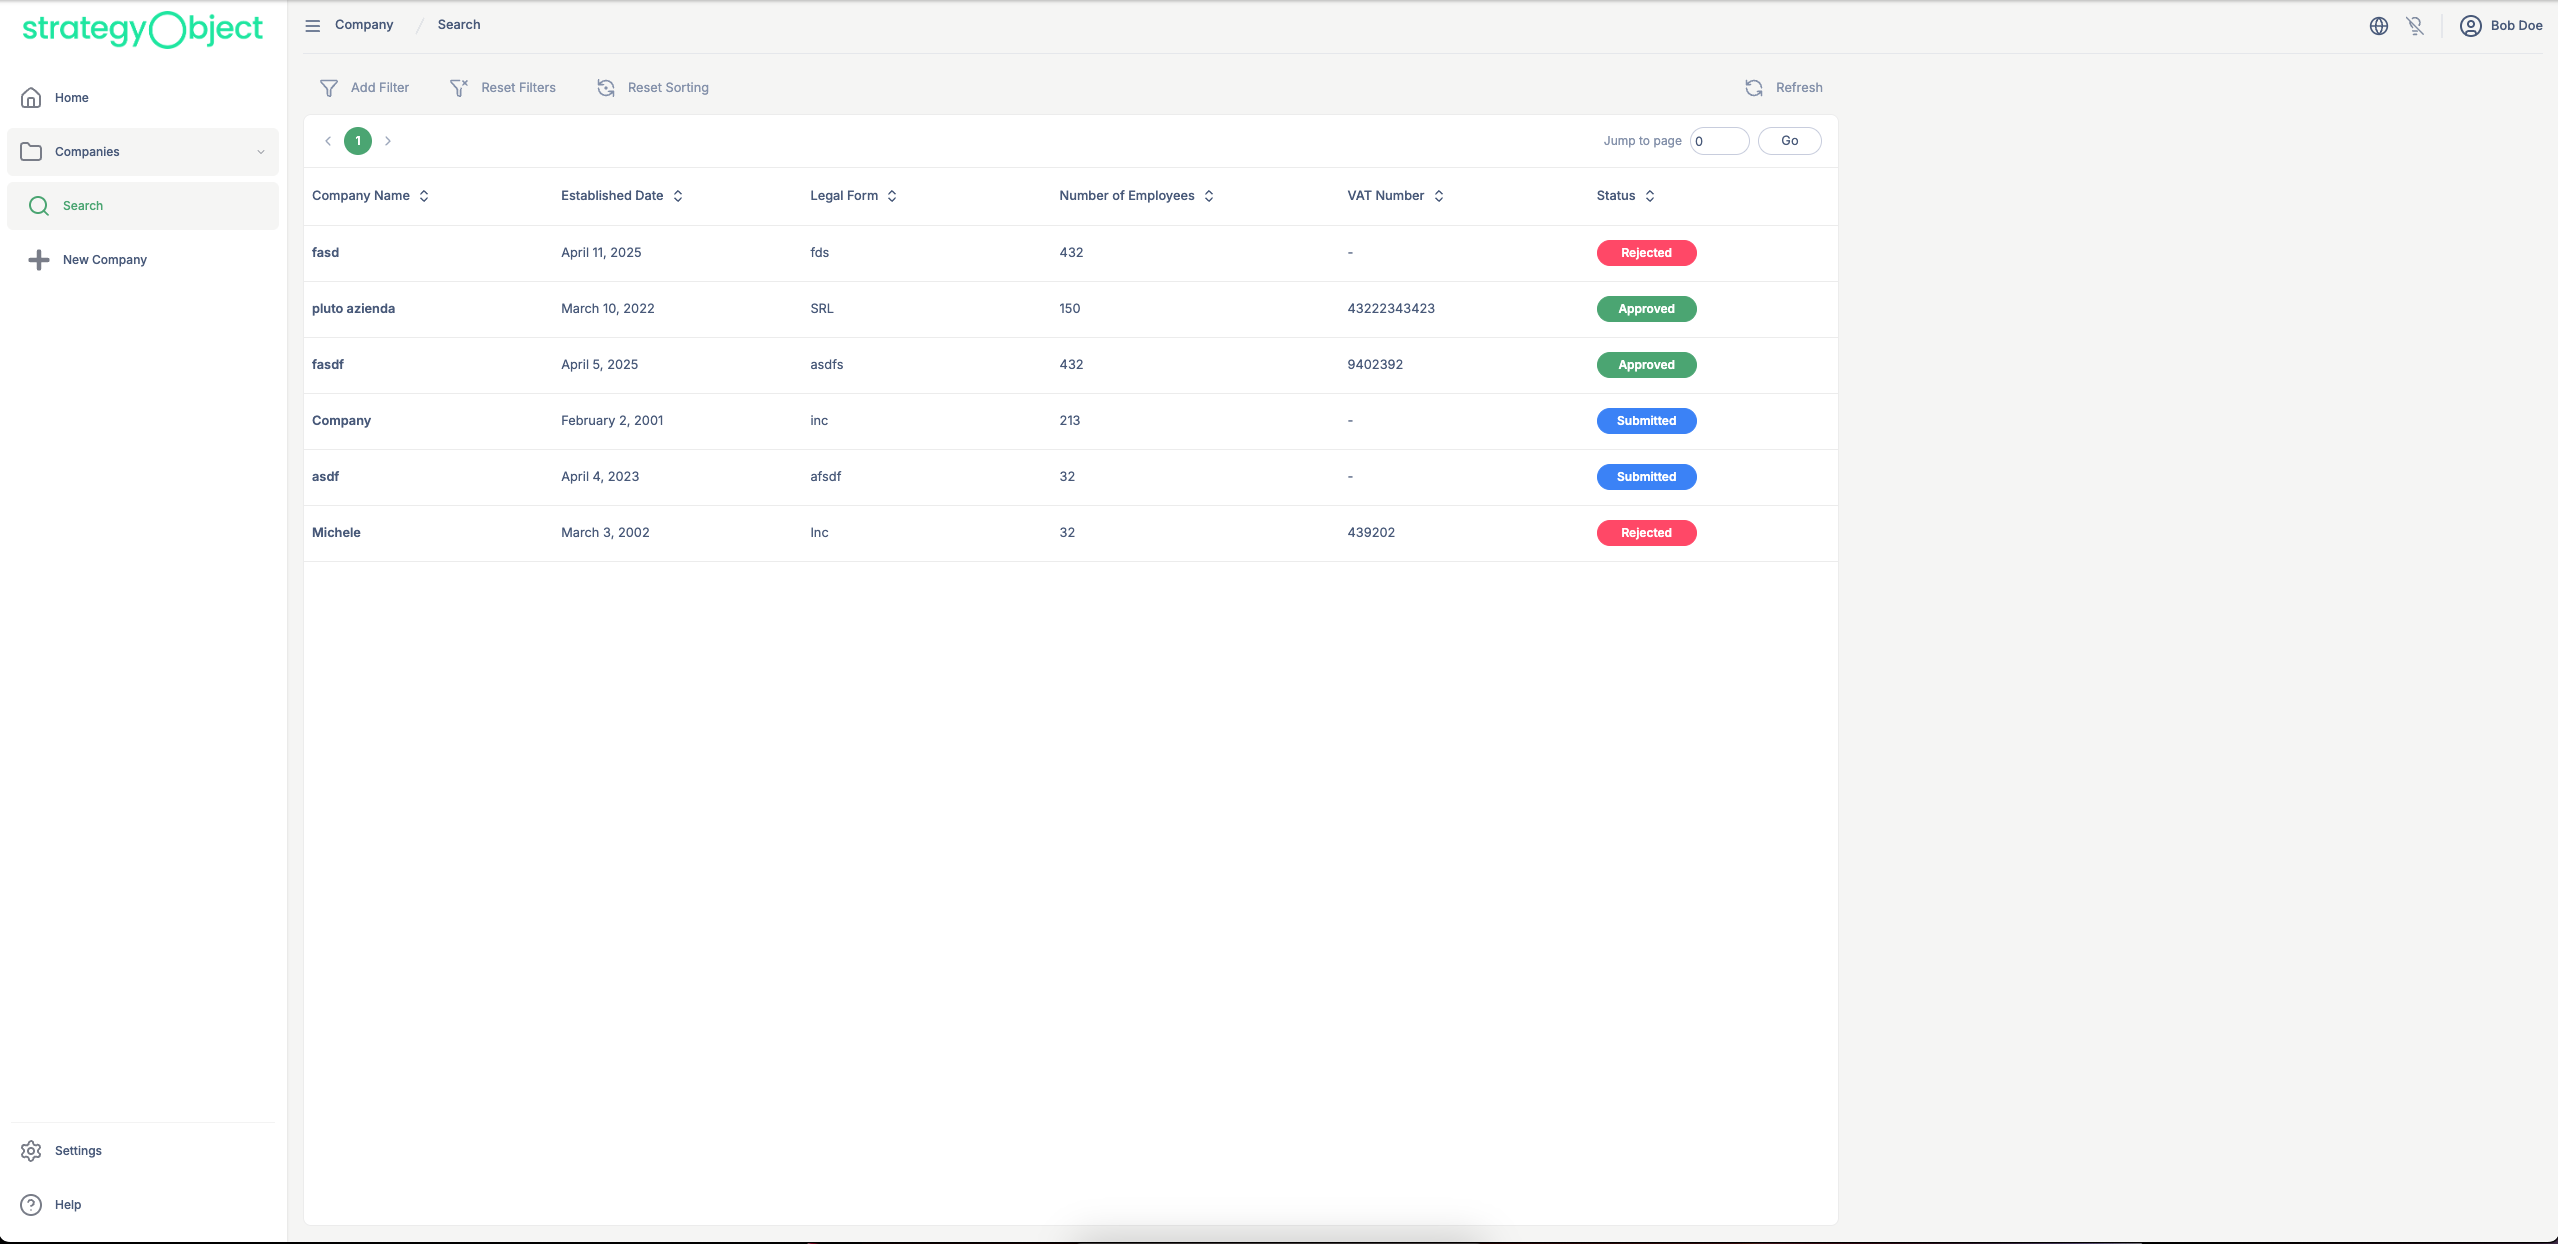
Real-Time Feedback + Persistence
Once integrated:
- You’ll see validation feedback from the backend as you interact with the forms.
- Every action—submit, approve, reject—will be persisted to the backend database.
- You can verify the data by searching from the Search page after submission.
This marks the completion of the mock-to-real backend transition. You're now ready to build and test your full production workflow.